The Transformation - Part 3. (Feel free to take a look back to
Part 1 and
Part 2 if you would like.) This post is going to focus on one room...the basement bathroom. This stonework in this bathroom is amazing...the concrete floor, not so much!
The thought of getting flooring to lay nicely on concrete that wasn't level and then cutting in to match the unevenness of the stone seemed like a nightmare. SO, we decided to grab some paint instead!
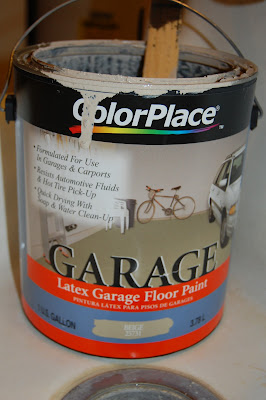
We used Latex Garage Floor Paint and turned the concrete floor into this...
Now, keep in mind that we did this project 5 years ago before we had entered the blogging world. Do you know what that means!?? We didn't take ANY pictures of the process. Not one.
HOWEVER, after 5 years of use, we began to notice it looking a little worn. This might be fine in some areas, but in the bathroom it just appeared "dirty"...NOT the look we were going for. I was actually really excited that we needed to repaint because it meant I could share the process with all of you!!! ;)
STEP 1: Figure out your pattern. We wanted the 12 x 12 tile look. Tape off anywhere that you DO NOT want to paint. It's amazing how much the bare concrete below looks like grout when it's all done. We used painters tape, which we cut with an exacto knife to make it thinner. Someone later recommended using mechanical or electrical tape, as it comes in thinner widths. Wondering how it would pull up though?
STEP 2: Begin painting with a roller...EASY. When we originally painted the floor, we used a roller with a long handle for the main part of the floor and the shorter handle one to trim. This time we didn't have the long handle...much harder on your back. If you have a large space, we HIGHLY recommend the long handle!!
STEP 3: Let dry and pull up the tape. This is my favorite part!
There you have it! Plain, gray concreted turned into tile with nothing but a little paint!


